Most business owners don’t realize this until it’s too late:
Mistakes with illuminated lightbox signs usually happen before production starts at the mockup approval stage.
Because mockups are visual, many customers approve them quickly without checking key details. Later, those “small” misses turn into:
-
installation delays
-
unnecessary stress
This guide is designed to help you approve your lightbox sign mockup the smart way, so your final sign installs smoothly and looks exactly right.
Step 1: Start With the Right Brand Details (Before Mockup Creation)
✔ Confirm Logo, Font & Color Information
One of the most common issues during mockup approval is incomplete or unclear brand information.
To avoid revisions and delays, please share the correct details with us upfront if you have them, such as:
-
Your final logo file (preferably high-resolution)
-
The font name used in your brand
-
Your official brand color codes (HEX, RGB, or Pantone)
If you already know these details, providing them early helps us create a mockup that accurately reflects your brand from the first version.
And if you’re unsure about any of this no problem. Our team will guide you during the mockup process so nothing important is missed before approval.
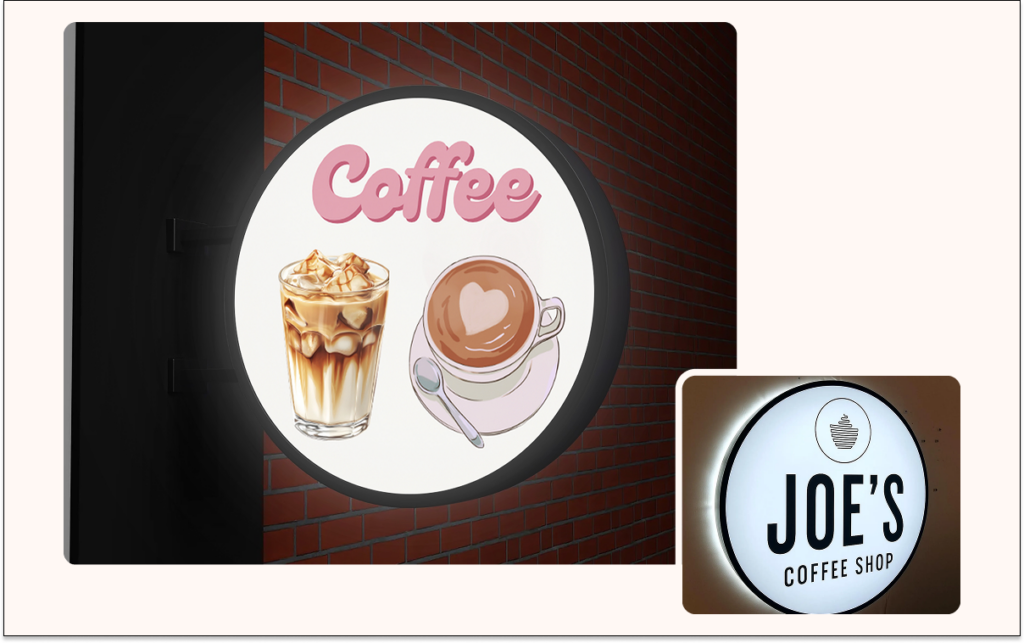
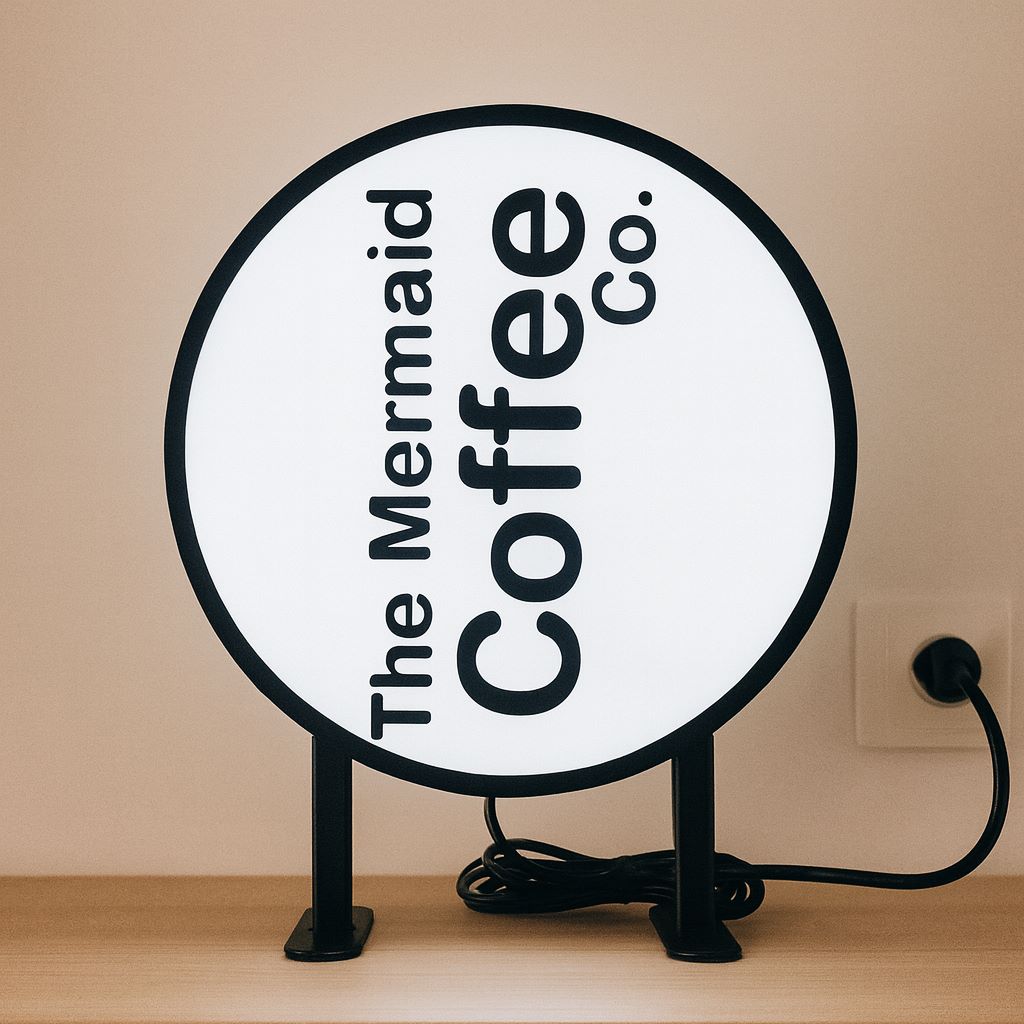
Step 2: Always Use a Real Surface Mockup (We Do This Free)
Many customers approve mockups on a plain background and later realize the sign looks different on their actual wall or storefront.
💡 Smart move:
Send us a clear photo of the actual surface where the sign will be installed.
✔ We create a free custom mockup on your real surface
✔ This helps you judge size, placement, and visibility accurately
✔ No guesswork, no surprises
This step alone prevents most post-approval regret.
Step 3: Check Electrical Distance Before Approval (Very Important)
This is one of the most overlooked steps.
Before mockup approval, measure:
-
Distance from the electric board / power switch
-
Distance to the sign installation point
🔌 Wire Policy (Clear & Transparent)
-
We include 1.5 meters of wire free
-
If more wire is required, extra length is charged
Sharing this distance early ensures:
-
Clean, hassle-free installation
-
No last-minute wiring issues
-
Accurate planning before production
Step 4: Confirm Outdoor Safety & Weather Exposure
Customers often ask about weather protection after approval, but this should be confirmed earlier.
✔ Our illuminated lightbox signs use IP‑68 rated components
✔ Safe for outdoor use, including rain, dust, and harsh conditions (IP68 is one of the highest protection levels against water and dust, suitable even for extreme outdoor environments)
Still, you should clearly tell us:
• Whether the sign is indoor or outdoor
• If it’s exposed to direct weather (rain, sun, dust, storm conditions)
This ensures the mockup and planning match real conditions.
If you need the official IP‑68 approval or legal documentation, this can be provided upon request from our sales agent. We also support you in obtaining any necessary outdoor sign approvals required by local regulations or certifying bodies just ask our team and we’ll assist you through the process.
Step 5: Surface Height Matters (Above 2 Meters = Tell Us)
If your installation surface is higher than 2 meters, this must be shared before approval.
Why?
-
We adjust wire length accordingly
-
Installation becomes smoother
-
No on-site issues later
👉 Simply inform our sales agent during mockup review.
Step 6: Decide the Installation Method Early
Many customers forget to mention how the sign will be installed.
Before approving your mockup, confirm the installation type:
-
Wall-mounted
-
Side-mounted
-
Hang
- Stand
- CeiIing Mount
Each method affects spacing, fittings, and final appearance so it must match the mockup.
Step 7: Share Your Installation Timeline
Another common issue is urgency after approval.
To avoid stress:
-
Tell us your expected installation date
-
This helps us plan production properly
-
Ensures timely delivery
Early communication = smoother experience.
Step 8: Understand Thickness Before Approving
Thickness impacts both appearance and structure.
-
Single-sided lightbox sign
Thickness: 3.2 inches -
Double-sided lightbox sign
Thickness: 4 inches
Make sure the mockup reflects the correct option before approval.
Step 9: Choose the Right Type of Illuminated Lightbox Sign
Your mockup should clearly represent the type of sign you’re ordering.
Common options include:
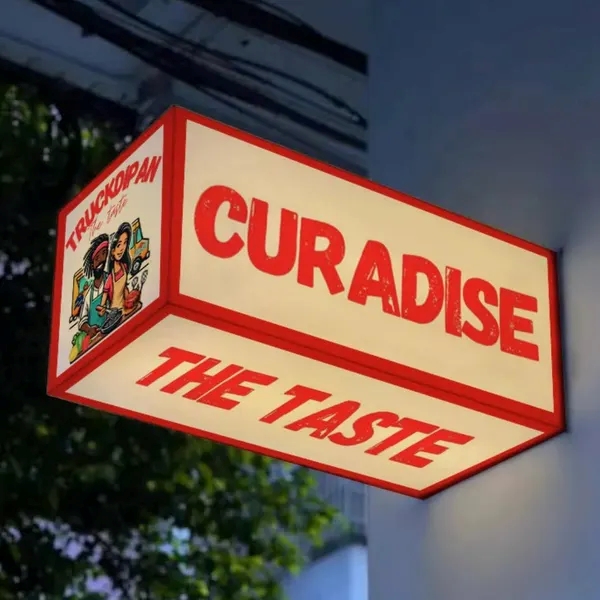
Acrylic LightBox
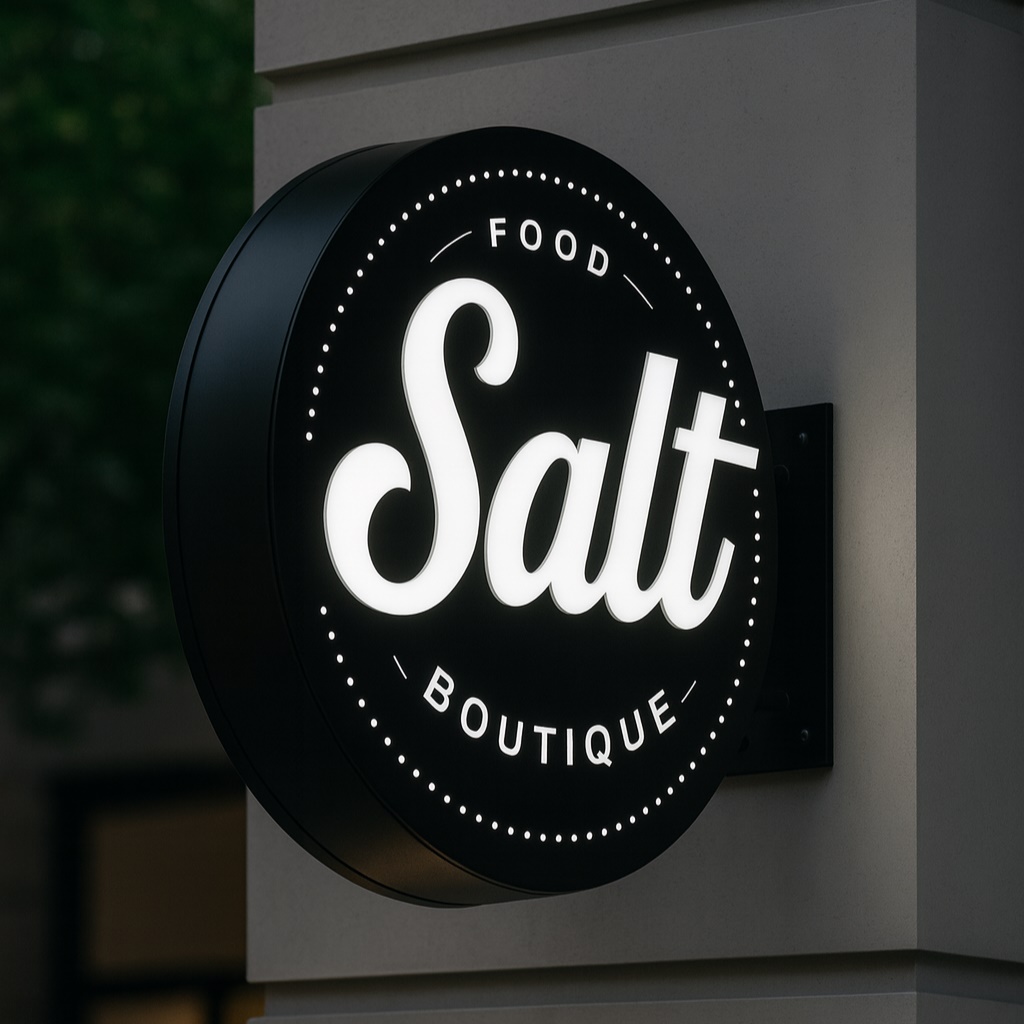
push thru words light box
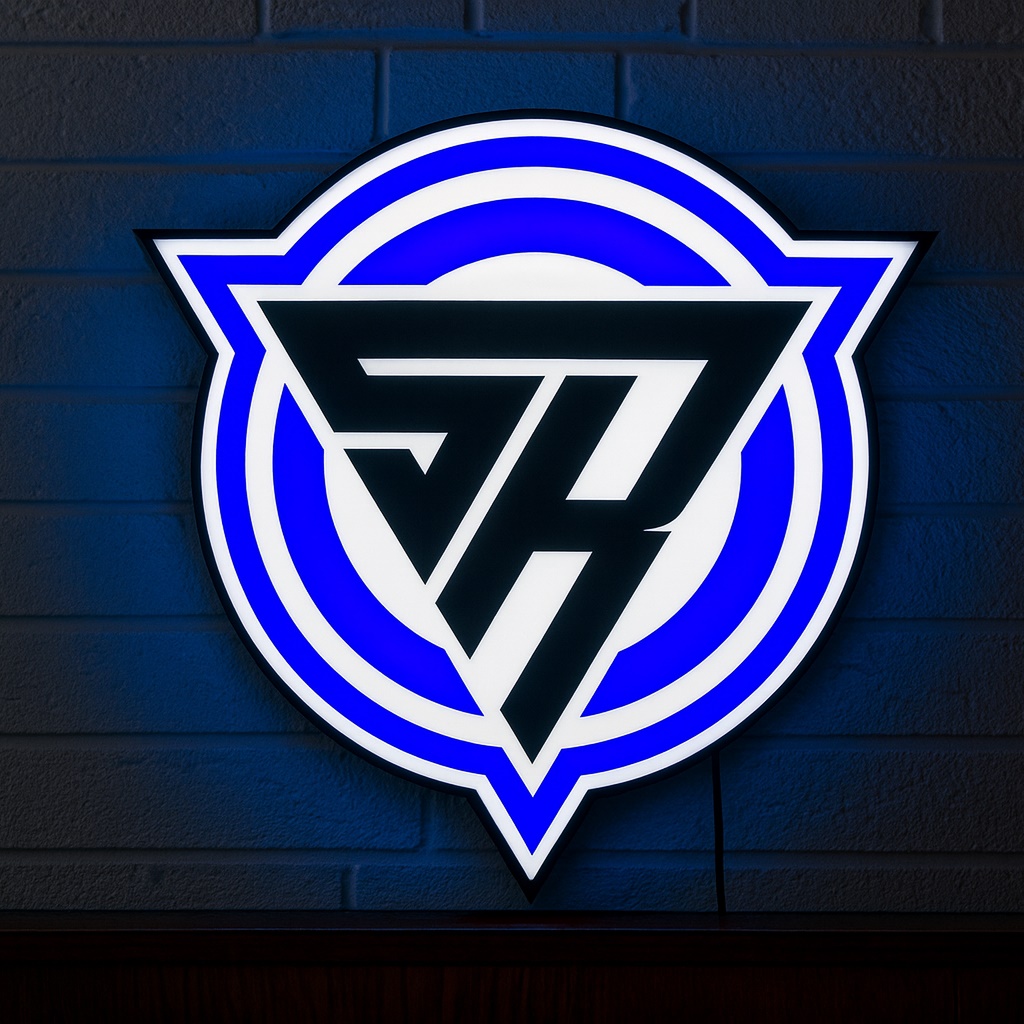
custom shape lightbox
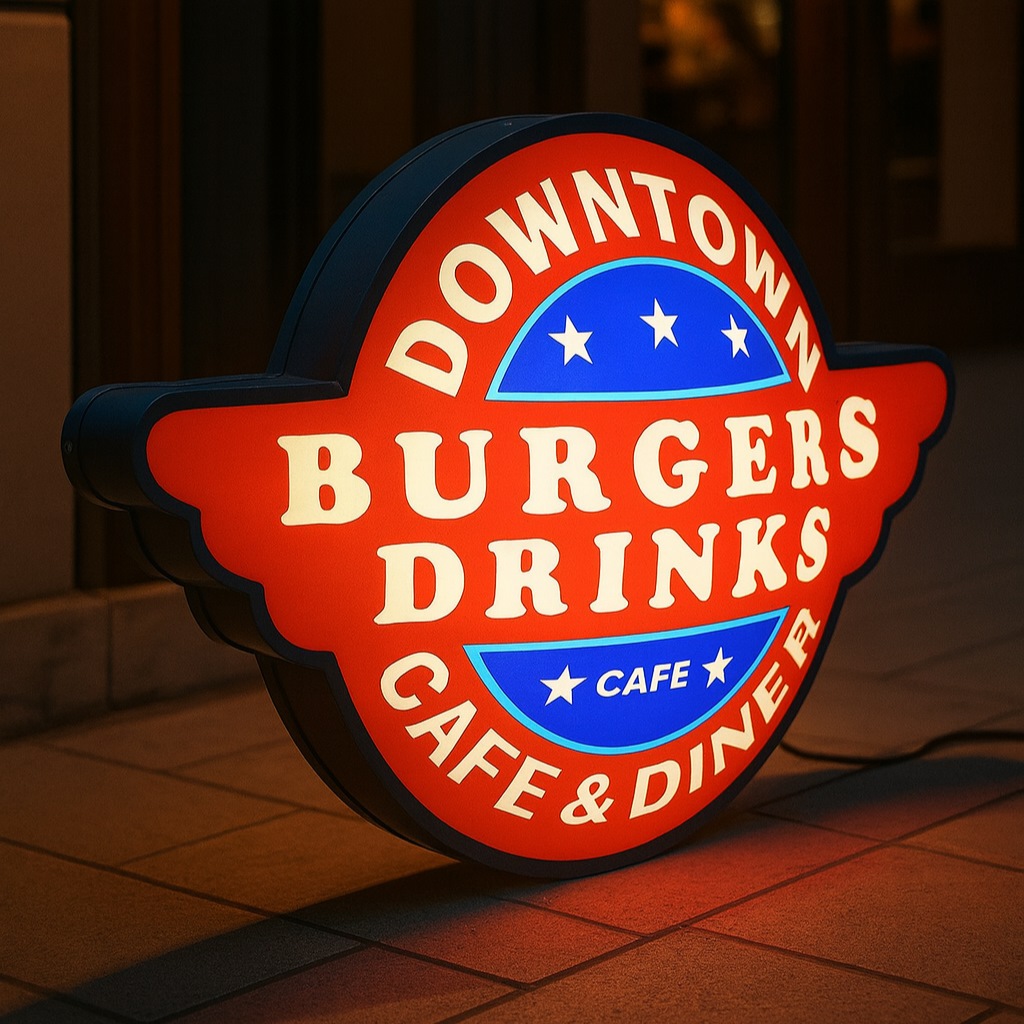
Vacuum Light Box
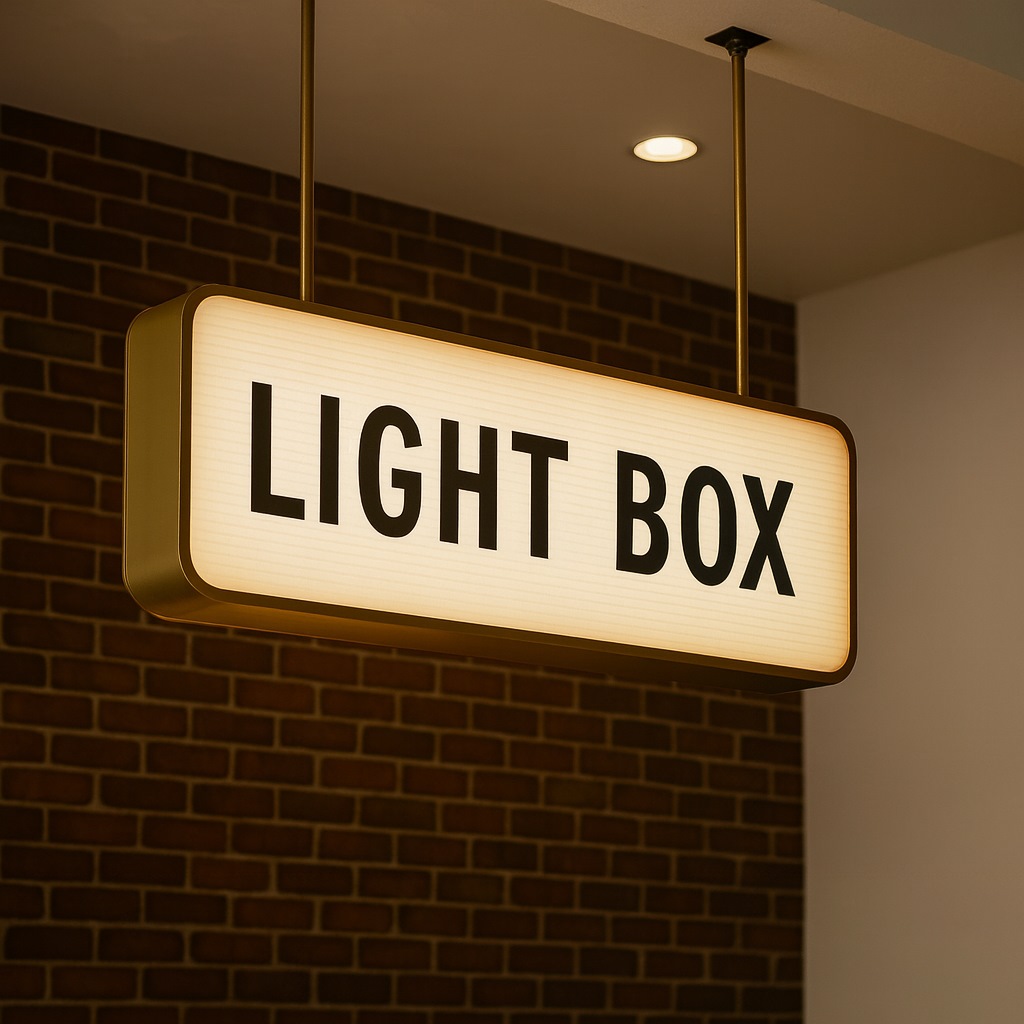
Hanging Light Box
Flat Face Light Box
Each type has a different visual impact, thickness, and mounting style and this should be clear in the mockup you approve.
👉 Ready to see your design come to life? Get a free mockup and quote for your illuminated lightbox sign today and approve with confidence.